As soon as I published the previous article on using canvas to draw unique header images for each page, I decided to adapt the code to generate Open Graph images for each page. Doing this required moving the canvas drawing code off the client and into the 11ty build process.
If you're curious about the math and code that draws the images, check out the previous article.
What is an Open Graph image?
Social media apps usually look in the document head for an Open Graph (OG) image when sharing a link. This image can be anything you want as long as it satisfies certain criteria for filesize and dimensions. Here's an example of what I'm trying to produce.
For link preview to look like this, you need to add a few tags to the document head that point to an image and describe the page. My goal is to automate the process as much as possible. I already have code that uses client-side javascript to draw the hero image behind the page header. The same code could be adapted to draw an image on the server at build time for use as the OG image.
In addition to prerendering the OG image, I also want to prerender the header image instead of relying on client-side javascript to draw it on a canvas element. This would remove the processing load on the client, with the tradeoff of downloading a 60 kb image every page. That's a tradeoff I'm willing to make.
Tie into the 11ty build process with a plugin
Every page needs its own unique OG image and hero image, so the first thing needed is a list of pages that 11ty has generated. Fortunately, the eleventy.after event fires after the build has finished, and it contains a list of all the pages that were generated along with some other useful information. If you iterate through this list, you can pull out the information needed to create the images with the same random seeds as the previous canvas version.
Let's get started. In .eleventyConfig.js, add a new plugin.
+const eleventyGenerateHeroes = require('./lib/eleventy-generate-heroes');

module.exports = ((eleventyConfig) => {

+  eleventyConfig.addPlugin(eleventyGenerateHeroes);

});
Create a new file in lib (or wherever you put plugins) called eleventy-generate-heroes.js, and have it listen for the eleventy.after event.
module.exports = (async (eleventyConfig) => {

+  eleventyConfig.on('eleventy.after', async ({ dir, results }) => {
+    console.log(dir.output); // this is the output folder of the site
+    console.log(result.length); // this is how many pages eleventy created
+    return;
+  });

});
11ty can generate all sorts of files, but OG images are only needed for HTML pages. To avoid generating images for things like JSON or XML files, ensure the output path ends with /index.html when looping through the results list.
module.exports = (async (eleventyConfig) => {
  eleventyConfig.on('eleventy.after', async ({ dir, results }) => {

+    return results.map(async (result) => {
+      if (result.outputPath.endsWith('/index.html')) {
+        console.log(result.outputPath); // this is the path to the html file
+      }
+    });

  });
});
By default 11ty creates each page as an index.html file in its own folder. If your 11ty configuration changes this behavior so there's more than one html file in a folder, you will need to modify the code to include those other html files in the loop.
Migrate the canvas code to the build server
The previous article uses a web component to draw the header images to a canvas element. That article is still very much valid, so I left the web component intact. I could have shared code between the two, but I chose to keep them separate. I copied the required functions from the web component directly into the new plugin.
The web component had multiple drawing modes to act as visual aids for the previous article. I didn't need those anymore, so they were removed and the remaining code was streamlined. I'll leave out most of the math and drawing code for this article. If you're curious how the image is drawn, you can look at the source or read the previous article for a thorough explanation.
Since this code doesn't run in a browser, a replacement for the canvas API is needed. I chose the wonderful canvas npm library to render the image at build time. This library allows all the existing drawing code to move over without any modification.
+const { createCanvas } = require('canvas');

module.exports = (async (eleventyConfig) => {
  eleventyConfig.on('eleventy.after', async ({ dir, results }) => {
    return results.map(async (result) => {
      if (result.outputPath.endsWith('/index.html')) {

+        const buffer = await createImage({ w: 1200, h: 630 });
+        console.log(buffer); // a bunch of jibberish, but trust me, it's a png image

      }
    });
  });
});

async function createImage (image) {

+  const canvas = createCanvas(image.w, image.h);
+  const ctx = canvas.getContext('2d');
  // --- draw some stuff here ---
+  return canvas.toBuffer('image/png');

}
Save the OG image
Now that we have an image (the buffer variable), we need to write it in the proper location. I chose to put the OG image in the same folder as its matching index.html file. You might have a different preference. The folder's path can be derived using the data in the eleventy.after event payload. Make sure the folder exists (just in case), then write the image buffer to a file called og.png.
+const fs = require('fs');
const { createCanvas } = require('canvas');

module.exports = (async (eleventyConfig) => {
  eleventyConfig.on('eleventy.after', async ({ dir, results }) => {
    return results.map(async (result) => {
      if (result.outputPath.endsWith('/index.html')) {
        const buffer = await createImage({ w: 1200, h: 630 });

+        const folder = dir.output + result.url; // index.html lives here
+        await fs.promises.mkdir(folder, { recursive: true });
+        await fs.promises.writeFile(folder + 'og.png', buffer);

      }
    });
  });
});

async function createImage (image) {
  const canvas = createCanvas(image.w, image.h);
  const ctx = canvas.getContext('2d');
  // --- draw some stuff here ---
  return canvas.toBuffer('image/png');
}
Again, 11ty's default behavior creates each page as an index.html in its own folder. This allows us to name every OG image og.png because there's only one image per folder. If your 11ty configuration changes the default behavior so there's more than one html file in a folder, you will need to modify the code to ensure multiple OG images can coexist in the same folder.
Optimize the OG image
By default, the buffer data returned from canvas.toBuffer('image/png) has little to no compression applied, so the og.png file is quite large. The sharp image processing library can take the uncompressed buffer and squeeze it down to make it much smaller. I chose a fairly aggressive level of compression, so you may need to adjust these settings for your own images. Doing this takes og.png from 335 kb down to 60 kb, with no noticable loss in image quality.
const fs = require('fs');
const sharp = require('sharp');
const { createCanvas } = require('canvas');

module.exports = (async (eleventyConfig) => {
  eleventyConfig.on('eleventy.after', async ({ dir, results }) => {
    return results.map(async (result) => {
      if (result.outputPath.endsWith('/index.html')) {
        const buffer = await createImage({ w: 1200, h: 630 });
        const folder = dir.output + result.url;
        await fs.promises.mkdir(folder, { recursive: true });
        await fs.promises.writeFile(folder + 'og.png', buffer);
      }
    });
  });
});

async function createImage (image) {
  const canvas = createCanvas(image.w, image.h);
  const ctx = canvas.getContext('2d');
  // --- draw some stuff here ---

+  const buffer = canvas.toBuffer('image/png');
+  return sharp(buffer).png({ quality: 90, compressionLevel: 9 }).toBuffer();

}
Of course, sharp isn't the only way to compress images. If you prefer another method, by all means, use that instead. But please, don't skip image optimization altogether. Don't make people download 5x more than they need to.
That's enough progress to show off. Here's the optimized OG image for this article. Beautiful.
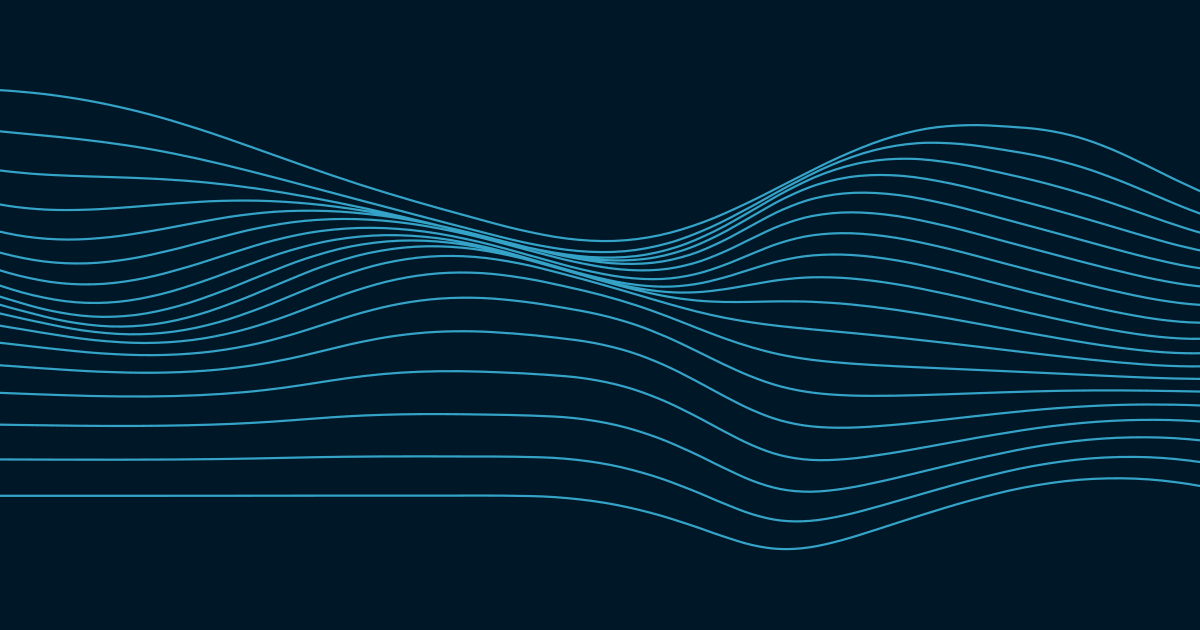
Here's the OG image for the homepage. Gorgeous.
Add Open Graph information to the document head
At this point, every page should have it's own OG image. Now you need to add the Open Graph information to the page itself so it can be used in link previews. This can be done in your layout template, or wherever you have your document head.
<!-- more html here -->

<head>

  <!-- more html here -->

  <meta property="og:title" content="{{ title | strip_html | escape }} | John Brooks">
  <meta property="og:description" content="{{ desc | strip_html | escape }}">
  <meta property="og:type" content="website">
  <meta property="og:url" content="https://www.pupismyname.com{{ page.url }}">
  <meta property="og:image" content="https://www.pupismyname.com{{ page.url }}og.png">
  <meta property="og:image:width" content="1200">
  <meta property="og:image:height" content="630">

  <!-- more html here -->

</head>

<!-- more html here -->
Adjust values and the domain as needed, but remember that og:url and og:image elements require absolute URLs. The og:title usually mirrors the title element, and the og:description usually mirrors the meta description element.
There's a whole Open Graph ecosystem out there. This example just brushes the edge of it. For more information, check out the Open Graph website.
Caching the OG image
Up until now, every 11ty build recreates every image from scratch. This is no big deal for small sites, but it can really slow things down for large sites. In my experience, drawing, compressing, and publishing the OG image for a single page adds around 0.1 seconds to the build. That's a very small amount of time by itself, but it can be very annoying if multiplied by a few hundred. In theory, these images should never change, so it makes sense to cache them to speed up later builds.
For caching, I'll use AssetCache from the eleventy-fetch library. eleventy-fetch is meant to cache API responses, but it's versatile enough to use it for other purposes. Instead of caching an API response, we will be caching the buffer data returned by createImage.
Each cache entry needs a key as an identifier. We will use the image path as the key since no two images will share the same path. Based on the key, AssetCache checks for a valid cache entry. If it finds one, the drawing step is skipped and the cache is used instead. If the cache doesn't exist or isn't valid, createImage is called and AssetCache saves the resulting buffer as a new cache entry before the data is written to disk as an image.
const fs = require('fs');
const sharp = require('sharp');
const { AssetCache } = require('@11ty/eleventy-fetch');
const { createCanvas } = require('canvas');

module.exports = (async (eleventyConfig) => {
  eleventyConfig.on('eleventy.after', async ({ dir, results }) => {
    return results.map(async (result) => {
      if (result.outputPath.endsWith('/index.html')) {
        const folder = dir.output + result.url;
        await fs.promises.mkdir(folder, { recursive: true });

+        const imagePath = folder + 'og.png';
+        const asset = new AssetCache(imagePath, '_cache');
+        let buffer;
+        if (asset.isCacheValid('100y')) {
+          buffer = await asset.getCachedValue();
+        } else {
+          buffer = await createImage({ w: 1200, h: 630 });
+          asset.save(buffer, 'buffer');
+        }

        await fs.promises.writeFile(imagePath, buffer);
      }
    });
  });
});

async function createImage (image) {
  const canvas = createCanvas(image.w, image.h);
  const ctx = canvas.getContext('2d');
  // --- draw some stuff here ---
  const buffer = canvas.toBuffer('image/png');
  return sharp(buffer).png({ quality: 90, compressionLevel: 9 }).toBuffer();
}
These cache files are saved to a _cache folder, which is intentionally not ignored by git. This increases the size of the codebase, but it helps speed up builds both locally and on the build server. The cache duration is set to something very long, so the images should "never" be recreated unless the cache is intentionally deleted.
There are a couple minor downsides to this approach.
AssetCachesaves the image data as.bufferfiles, so it's kind of impractical to browse the contents of the_cachefolder.- The original key is not documented in the cache anywhere, so it's difficult to determine which key goes with which cache entry. If you ever wanted to force a single image to be redrawn, you'd have to come up with a way to determine which cache files to delete first.
I don't think these issues are much to worry about. They wouldn't be especially difficult problems to solve, if the need ever arose.
Create, publish, and cache the hero image
Now that we have our OG image squared away, let's address the hero image. Each page has a hero image behind the page title that is very similar to the OG image, but the two are not identical. The hero image is larger and has a transparent background. This new image goes through all the same processing steps as the OG image, but with different options.
const fs = require('fs');
const sharp = require('sharp');
const { AssetCache } = require('@11ty/eleventy-fetch');
const { createCanvas } = require('canvas');

module.exports = (async (eleventyConfig) => {
  eleventyConfig.on('eleventy.after', async ({ dir, results }) => {
    return results.map(async (result) => {
      if (result.outputPath.endsWith('/index.html')) {
        const folder = dir.output + result.url;
        await fs.promises.mkdir(folder, { recursive: true });

        // the og image
        const ogPath = folder + 'og.png';
        const ogAsset = new AssetCache(ogPath, '_cache');
        let ogBuffer;
        if (ogAsset.isCacheValid('100y')) {
          ogBuffer = await ogAsset.getCachedValue();
        } else {
          ogBuffer = await createImage({ w: 1200, h: 630, transparent: false });
          ogAsset.save(ogBuffer, 'buffer');
        }
        await fs.promises.writeFile(ogPath, ogBuffer);

+        // the hero image
+        const heroPath = folder + 'hero.png';
+        const heroAsset = new AssetCache(heroPath, '_cache');
+        let heroBuffer;
+        if (heroAsset.isCacheValid('100y')) {
+          heroBuffer = await heroAsset.getCachedValue();
+        } else {
+          heroBuffer = await createImage({ w: 2400, h: 800, transparent: true });
+          heroAsset.save(heroBuffer, 'buffer');
+        }
+        await fs.promises.writeFile(heroPath, heroBuffer);

      }

    });
  });
});

async function createImage (image) {
  const canvas = createCanvas(image.w, image.h);
  const ctx = canvas.getContext('2d');
  // --- draw some stuff here ---
  const buffer = canvas.toBuffer('image/png');
  return sharp(buffer).png({ quality: 90, compressionLevel: 9 }).toBuffer();
}
The above example is simplified compared to the final code, but the general approach is the same. Draw, optimize, and cache an image (or use a cached copy if it already exists), then write the image data to disk. The same process is used on both the OG image and the hero image.
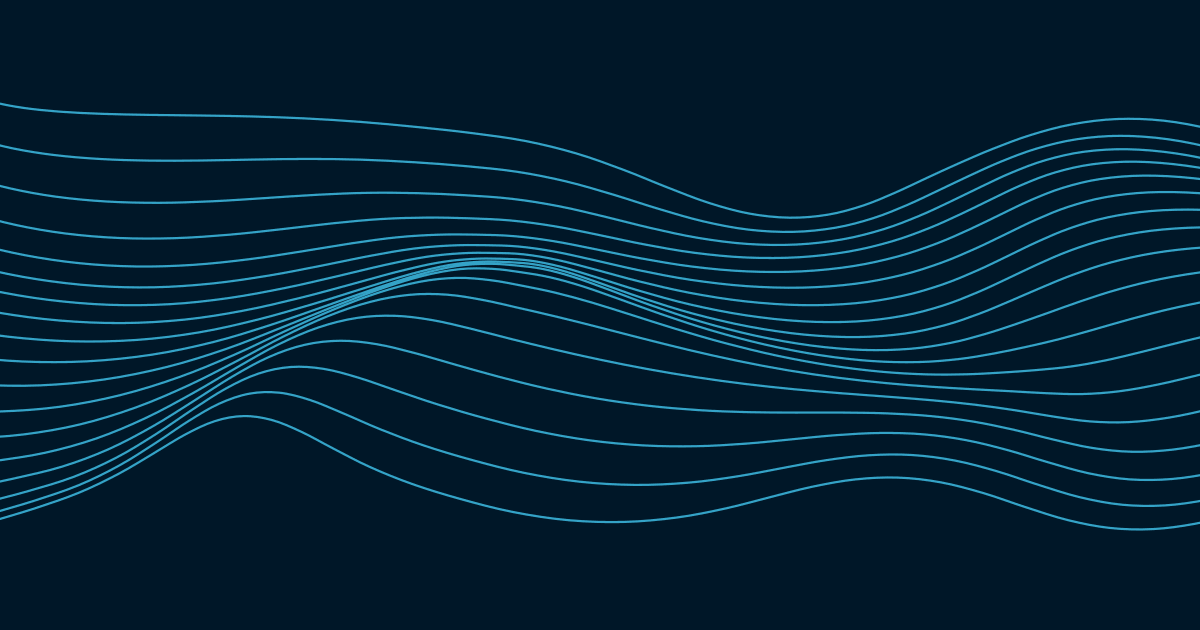
And here's the new hero image. Lovely.

Compare it to the original web component that draws the image with client-side canvas. The two should look identical.

And here's the OG image for comparison. You can see the OG image has a different aspect ratio than the hero image, and its background is a solid color, but the pattern is still the same since it uses the same random seed.
Adding hero image to the page
In the template, add the new hero image. Your markup will surely vary, but you get the idea.
<!-- more html here -->

<div class="hero">

  <img class="hero-image" src="./hero.png" alt="">

  <div class="hero-contents">
    <h1 class="title-title">{{ title }}</h1>
  </div>
</div>

<!-- more html here -->
Conclusion
The topic of generating Open Graph images in 11ty has seen a lot of interest lately. Each article has given me new ideas for features to add and as well as different ways to approach the problem. Should I redraw the images every build or cache them in the codebase? Should I put text on the images? Should I build the images with a shortcode in the templates or with eleventy.after? Should I use SVG instead of canvas behind the scenes? All great questions, and there's no one right answer. I really love the 11ty community's generosity and willingness to share. Hopefully this article adds to that discussion.